

The greatest thing about this headband is that you can do any color, any size, and design!
I use leftover scraps from previous projects so that I am not wasting yarn. This time I used some leftover wool sock yarn from a hat I made a few weeks ago. Sock yarn is usually much thinner (lighter weight?) than something you would use for other projects. Since I used sock yarn I had to use really teeny tiny small needles, so keep that in mind. I wore this to work yesterday and got lots of complements. Unfortunately, I always get headaches when I wear headbands so I might not be wearing this very often. What do you think? Do you like it?!
Supplies:
Scraps of left over yarn
Two size 0-1 double pointed needles
Plastic headband
E600 or any craft glue
Cute decorations (button, or something)

Row 1: Cast on 7 stiches
Row 2: Slide all 7 stiches to the other end of the needle. Now the tail should be on the left side end of your row. When starting row 2 use the tail on the first stiches. By pulling the yarn from the tail to the other end of the stiches you will create a line that goes along the wrong side of the stitches.
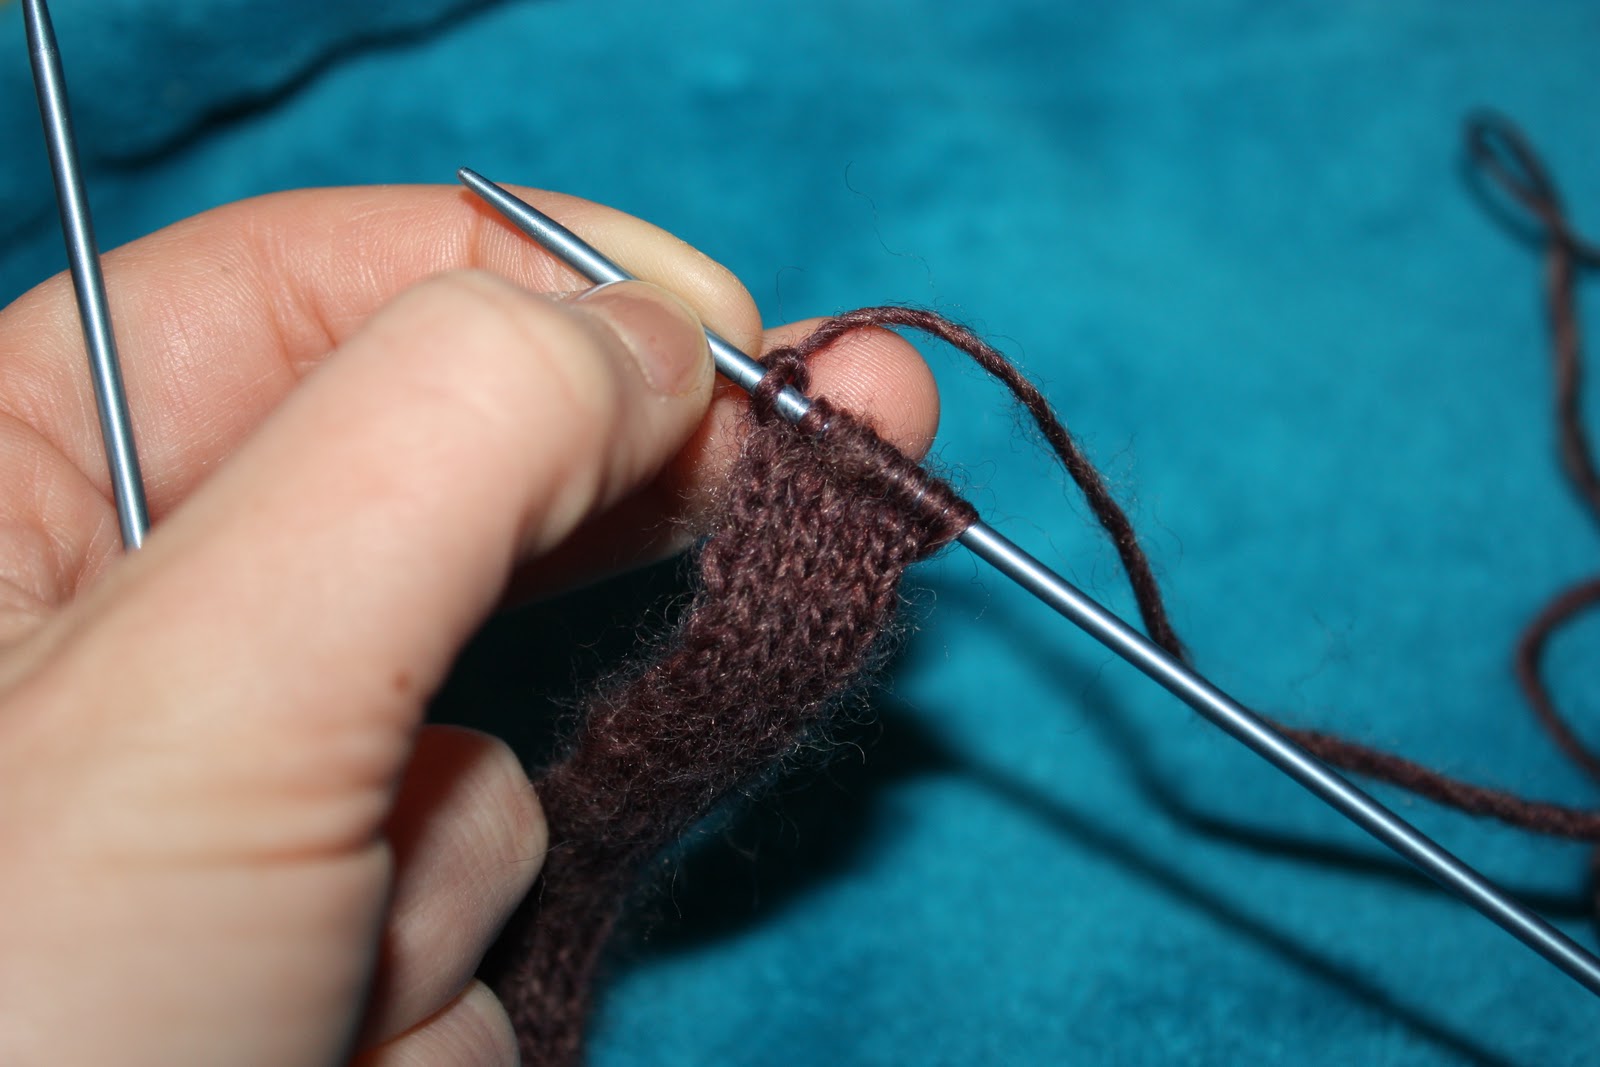 |
| This is later on after a few rows but still applies. I have just finished knitting a row here |
 |
| Here you slide thee stiches to the other end on f the double pointed needles. |
 |
| Here you pull the tail from the back and start to knit and the beginning of the next row. |
 |
| This is what the 'wrong side' will look like. |
This will hold the headband in place on the ‘ugly’ inside part of the head band. Seeing the pictures might help.
Row 3à Repeat row two until end. You can slide you headband inside the stitches while you are working to help you determine if it is long enough. Be careful not to make it too long otherwise it will scrunch and not look right
Cast off when long enough.
After you have cast off your headband, slide the plastic headband into the knit.
 |
| This is what it looks like after you cast off |
Use some kind of craft glue (I use E600 per recommendation of my friend Kelsie Braceros) to glue the inside ends of the yarn to the headband so that it doesn’t slide around. Sew on any kind of button or decorative item onto your headband and you are done!


Love it! Super cute. Need one for Lexi!
ReplyDeleteSo we should definitely make some of these, & some hats & things, and sell our creations at the Mukilteo Farmer's Market this summer! <3 I love these headbands!
ReplyDelete