Sunday, April 17, 2011

First Attempt: Spinning & Dying

There is a lovely little yarn shop in Moscow, "The Yarn Underground" which is underneath a music store up 3rd street. Jake and I discovered it yesterday. I bought a ball of rough or unspun wool and a Drop Spindle (quite cheap: 2 oz of wool was roughly $4 and the drop spindle was $9).


I watched a really quick youtube video on how to spin with a drop spindle, but I really didn't quite understand what I was doing after that. I basically just "winged-it" until I ran out of wool. I am pretty sure I was spinning too tightly, since the yarn was twisting up too much. There were parts where the yarn was thicker/chunkier, and others where it was too thin (almost sock-weight). I figured that that would be normal for the first try? At least for someone who really didnt know what she was doing.


So here is what the yarn looks like all wrapped up on the drop spindle. I unravelled it and wrapped it over the end of my coffee table, and then tied strings on each end of the giant loop-thingy I made. The next picture shows the two pots on the stove where I boiled the onion peels to create a dye. I ended up watering the dye down in the end, and I think it might have ruined the strength of the color. I added lavender essential oil to the brews so that they didn't smell too oniony. You can see the yarn in the tin baking tray, ready to be soaked with dye.


Here is what my lovely yarn looked like after being dyed:


Saturday, April 16, 2011

Dark Chocolate Black Cherry Scones

Dark Chocolate Black Cherry Scones


I felt like taking a break from philosophy and being one with my domestic side for a change today. So I made some scones! I was turned on to a recipe from allrecipes.com, but I made some changes. Here is what I came up with:


Ingredients:


1 3/4 cups flour


1/3 cup white sugar


2 teaspoons baking powder


1/2 tsp salt


5 tablespoons unsalted butter chilled & cubed


1/2 cup Ghirardelli Chocolate Chips


8 tablespoons R.W. Knudsen Black Cherry Juice


Directions:


Mix the dry ingredients (flour, sugar, baking powder, salt) in a large mixing bowl. Add cubed butter & mix well. Next, add the chips. Add the juice, one tablespoon at a time until the mixture thickens into dough. Next, on a floured surface, pat the dough into a thick pancake (1/2 inch thick). Cut into 8 wedges, and place on a baking sheet. (either use parchment paper on top of the sheet or spray with non-stick spray). Sprinkle some sugar on top (optional). Bake for about 12 mins or until the wedges are golden brown on the edges. Let stand for about 5 minutes, and then serve!


This is my debut blog with Brooke! Let me know what you think! <3


Friday, April 8, 2011

A Knit Headband!


The greatest thing about this headband is that you can do any color, any size, and design!
I use leftover scraps from previous projects so that I am not wasting yarn. This time I used some leftover wool sock yarn from a hat I made a few weeks ago. Sock yarn is usually much thinner (lighter weight?) than something you would use for other projects. Since I used sock yarn I had to use really teeny tiny small needles, so keep that in mind. I wore this to work yesterday and got lots of complements. Unfortunately, I always get headaches when I wear headbands so I might not be wearing this very often.  What do you think? Do you like it?!

Supplies:
Scraps of left over yarn
 Two size 0-1 double pointed needles
Plastic headband
E600 or any craft glue
Cute decorations (button, or something)
 
 
Row 1: Cast on 7 stiches
 
Row 2: Slide all 7 stiches to the other end of the needle. Now the tail should be on the left side end of your row. When starting row 2 use the tail on the first stiches.  By pulling the yarn from the tail to the other end of the stiches you will create a line that goes along the wrong side of the stitches. 
This is later on after a few rows but still applies. I have just finished knitting a row here
Here you slide thee stiches to the other end on f the double pointed needles.
Here you pull the tail from the back and start to knit and the beginning of the next row.
This is what the 'wrong side' will look like.
This will hold the headband in place on the ‘ugly’ inside part of the head band. Seeing the pictures might help.
Row 3à Repeat row two until end. You can slide you headband inside the stitches while you are working to help you determine if it is long enough. Be careful not to make it too long otherwise it will scrunch and not look right
Cast off when long enough.
After you have cast off your headband, slide the plastic headband into the knit.
This is what it looks like after you cast off
Use some kind of craft glue (I use E600 per recommendation of my friend Kelsie Braceros) to glue the inside ends of the yarn to the headband so that it doesn’t slide around. Sew on any kind of button or decorative item onto your headband and you are done!

Wednesday, April 6, 2011

Turkey and Quinoa Meatloaf, "Make It Again"


Sometimes I get annoyed because Chris doesn’t give much detail. For example when I make dinner I usually ask him, “Hey, did you like it?” and he almost always says “yes.” However, I have discovered that when I try to make the same recipe again, he will sometimes say, “Oh, you are making that again?” with a squishy-faced expression. And then I remind him that last time I made it he said that he liked it!
 At this point Chris will say, “Well, yeah…it was good, but you’ve made better stuff.” It is at this point I know that Chris didn’t really like it. I don’t know if this is normal with most guys, but Chris ‘likes’ almost everything, meaning he will eat anything. There are some things he REALLY likes. So now, instead of  just asking Chris whether or not he ‘likes’ it, I ask him if he would want me to make it again! He said that he wants me to make this one again…

Turkey and Quinoa Meatloaf

Ingredients

  • 1/4 cup quinoa
  • 1/2 cup chicken broth
  • 1 teaspoon olive oil
  • 1 small onion, chopped
  • 3 large clove garlic, chopped
  • 1 (20 ounce) package ground turkey
  • 1 small can tomato paste
  • 2 siracha sauce
  • 2 tablespoons Worcestershire sauce
  • 2 eggs
  • 1 1/2 teaspoons salt
  • 1 teaspoon ground black pepper
 Sauce:
  • ¼ cup ketchup
  • ¼ cup brown sugar
  • Splash of water
  • 2 tablespoons mustard
  • Splash of Worcestershire sauce

Directions

  1. Bring the quinoa and chicken broth to a boil in a saucepan over high heat. Reduce heat to medium-low, cover, and simmer until the quinoa is tender, and the water has been absorbed, about 15 to 20 minutes (it is pretty similar to rice). Sauté the onions over medium high heat in the olive oil. Add a dash of cayenne pepper & chili powder. When onions are translucent add the garlic cloves. Sauté until you smell the garlic! Combine the quinoa and onions. Set aside to cool.
  2. Preheat an oven to 350 degrees F
  3. Stir the turkey, cooked quinoa, onions, tomato paste, hot sauce, 2 tablespoons Worcestershire, egg, salt, and pepper in a large bowl until well combined. The mixture will be very moist. Shape into a loaf on a foil lined loaf pan. Combine the brown sugar, 2 teaspoons Worcestershire, and 1 teaspoon water in a small bowl. Rub the paste over the top of the meatloaf. (I actually forgot to put the sauce on top of the loaf before I cooked it. I poured the sauce on top after it was cooked and then let it sit at 200 degrees F for about 20 minutes and then broiled it.)
  4. Bake in the preheated oven until no longer pink in the center, about 60 minutes. An instant-read thermometer inserted into the center should read at least 160 degrees F (I let it cook to 180 to be safe) Let the meatloaf cool for 10 minutes before slicing and serving.

This is the Quinoa after it was cooked
Fact: I love onions

I added an entire can on tomato paste and then found out it was supposed to be only 1 tablespoon which is why it was super red looking. Trust me, 1 can tasted good and made it very moist.


I lined the loaf pan with foil which made it really easy to take out and cut up for plates

I got the basics of the recipe on Allrecipes.com but as usual I made lots of changes to it.

Friday, April 1, 2011

A Cowl for Mel in Clatskanie


   This weekend, Chris and I are visiting my good friend Melissa Lineberry and her husband Josh! They recently moved to Clatskanie (clat-scan-eye), OR from San Diego after a short stint in Idaho. Josh is one of the 5 police officers in this teeny tiny town of 1,700 people!! Melissa drove me around the whole town this morning and I saw where all 5 of the police officers live, city hall, the grocery store, the post office, the restaurant, the coffee shop…all in about 5 minutes. Chris and I both love Oregon so it is fun to visit them in this little town with their cute little house and beautiful view of the hills.

   Since I was coming down to visit the Lineberry’s in their house, I was thinking that we would get them a house warming present. Then I decided that Melissa would be the primary recipient of a housewarming gift anyways (since boys don’t really like house stuff) and that I would much rather KNIT her a present instead! I started with what is currently my favorite yarn… Malabrigo’s Rasta yarn, which I have already used in three other similar projects. This yarn is really chunky and requires pretty big needles, making for quick projects! Since Melissa’s favorite color was purple in high school, I chose an earthy, purple/green blend called Zarzamora. I love the Malabrigo yarn because it is kettle dyed so every skein is unique. While at my favorite yarn store (Great Yarns, in Everett) I also picked up some super cute wood buttons!
This is the pattern for the cowl, be warned…it is my first time writing out a pattern:

Yarn: Malabrigo Rasta Yarn
Needles: US Size 17
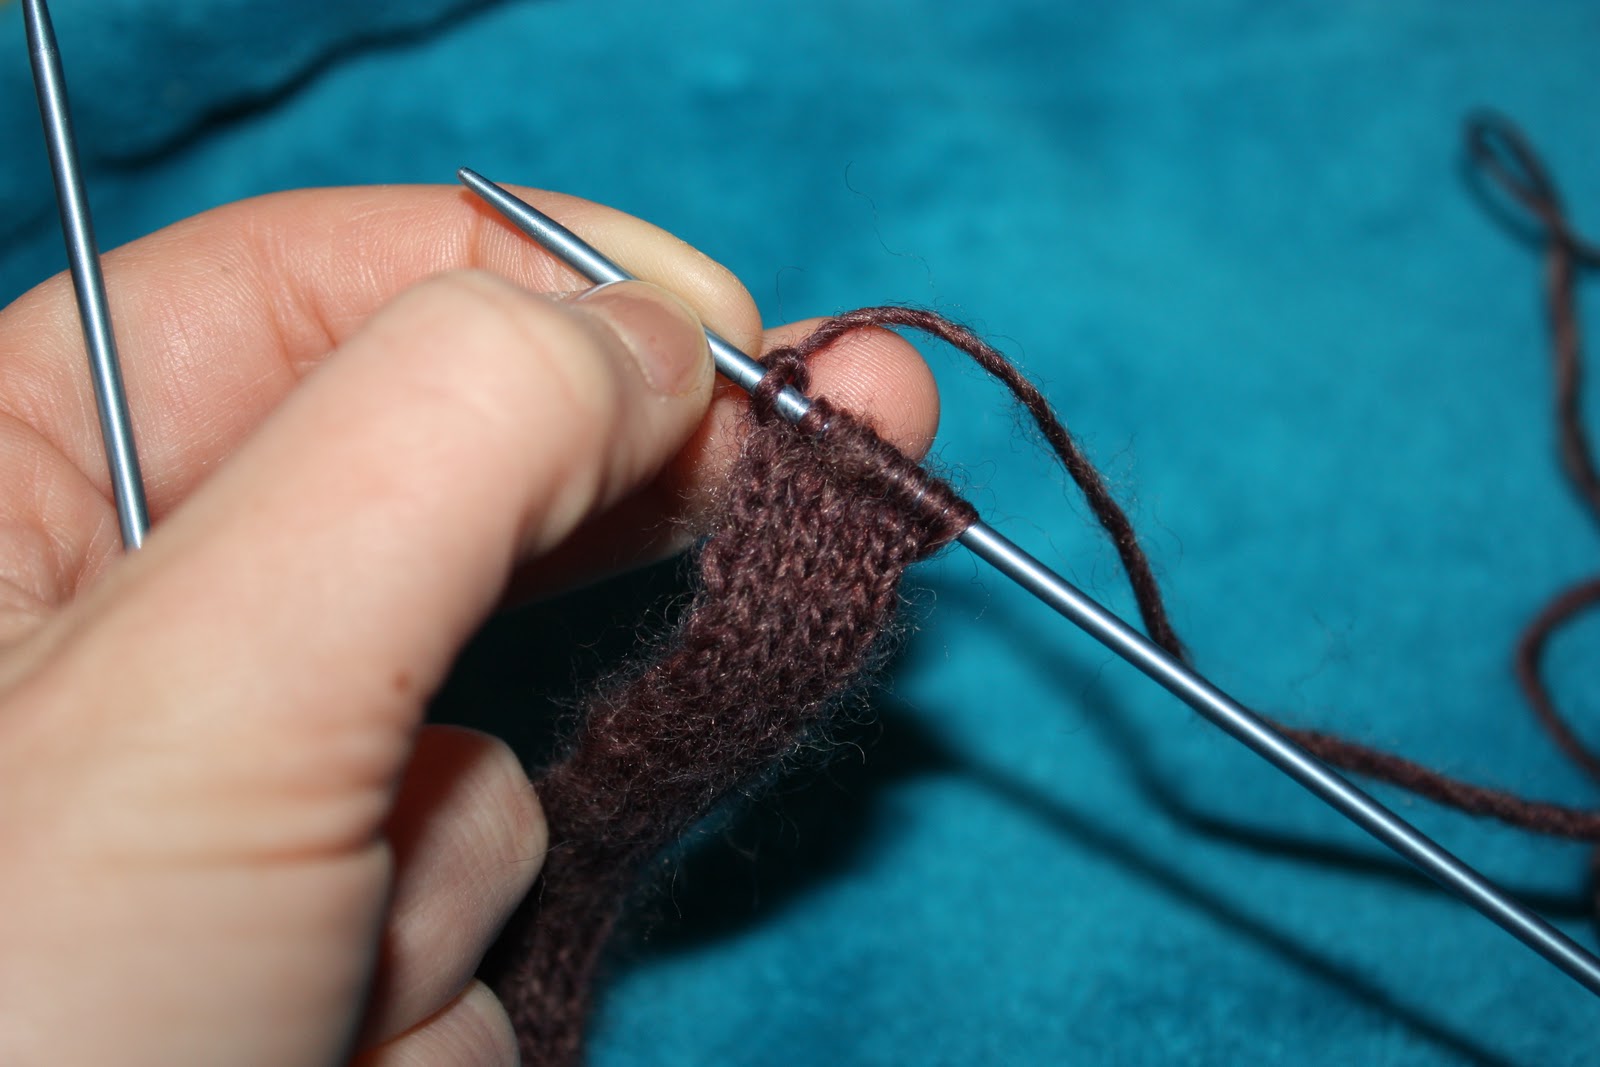
Cast on 20 stitches (total must be divisible by 4)
Row 1-4: knit two stitches, pearl two stitches, knit two stitches, pearl two stitches, continue to end of row
Row 5-8: pearl two stitches, knit two stitches, pearl two stitches, knit two stitches, continue to end of row
Repeat rows 1-8, going back and forth until it is 25-30 inches long, depending on how long you want it. If you use the Malabrigo yarn then just use up the whole skein but leave about 1-2 feet extra to sew on the buttons. Cast off when you have reached the desired length.
Sew on 4 over sized buttons (at least 1 inch diameter) at the end. This yarn is chunky enough that you don’t need to make button holes, just push the buttons through the gaps in the yarn. You can also choose to skip the buttons and just sow the ends together. I like to twist my cowls once when wearing them so if sewing the ends together you should decide ahead of time if you want to twist it once or not.
 Huge buttons, huge yarn, and huge needles


 Melissa wearing the final product!